How to Install Microsoft Office 2016 for Mac Using LANDESK Management Suite
Goodbye 2011 and hello 2016! After five long years, Microsoft has finally replaced its outdated and very un-Macish Office 2011 product with an ultra-sleek and modern Office 2016 for Mac. Re-written from the ground up, Microsoft is promising an “unmistakably Office” experience; something we Mac users have not previously enjoyed without compromising the Mac experience itself.
The one major caveat for the Office 2016 for Mac release…you must be an Office 365 subscriber, or you must be a student to get access to the product today. If you don’t fall into one of those two categories, you’re going to need to hold tight. While the full details are not yet known, such as the exact release date or price, the one-time product purchase option will have you waiting until September sometime. If you don’t feel you can wait that long, head over to office.com/mac and become a subscriber today.
Kirk Koenisbauer, the corporate vice president for the Office Client Applications and Services team, writes on the Office Blog:
“Today we are taking a big step forward for Mac® users—Office 2016 for Mac is now available in 139 countries and 16 languages. Based on feedback from the great Mac Office community, we’ve made major updates to each of the apps, and we couldn’t be more pleased to deliver it first to our Office 365 customers.”
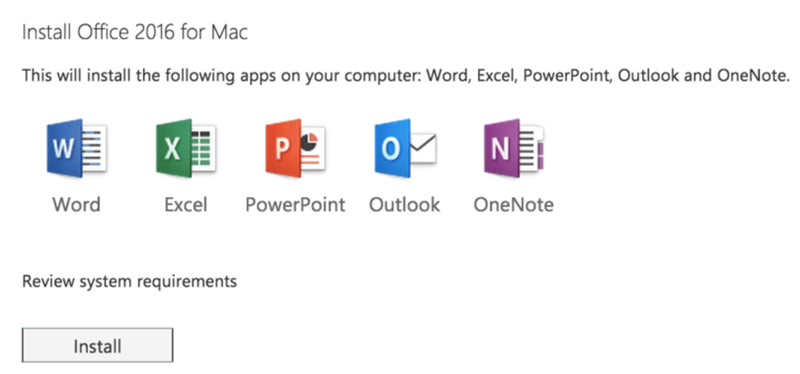
So just how can you get this wonderful new Office suite installed on all of your Macs? Just sign in to your office.com/myaccount area, or into your personalized corporate portal, hit the Office 365 settings cog icon and then navigate to the Software section.
Once on the Software page, you’ll see the Install button. Click it and the 1.1 GB .pkg installer will begin to download.
When you have the installer downloaded, the fun can finally begin. To deploy it out to all of your OS X machines, you’re going to want to use LANDESK Management Suite.
Remember, with the install being tied to your Office 365 account, there are no customization options that need to take place with the installer itself. And, as a step of precaution, zip up the installer since it’s a pkg file type, as you don’t want Windows to think it would be a good idea to mess with the permissions on the installer files themselves. When you’ve completed zipping the installer, place it into your software distribution share you use for LANDESK.
From there, you’ll need to create a LANDESK Mac distribution package. The nine-step process below contains information on how to create the package:
- Open the LANDESK Console
- Navigate to the top menu bar, select Tools > Distribution > Distribution Packages.
- In the lower left menu tree, highlight My Packages or Public Packages from within the Distribution Packages window
- On the Distribution menubar, press the New Package button and select New Macintosh Package.
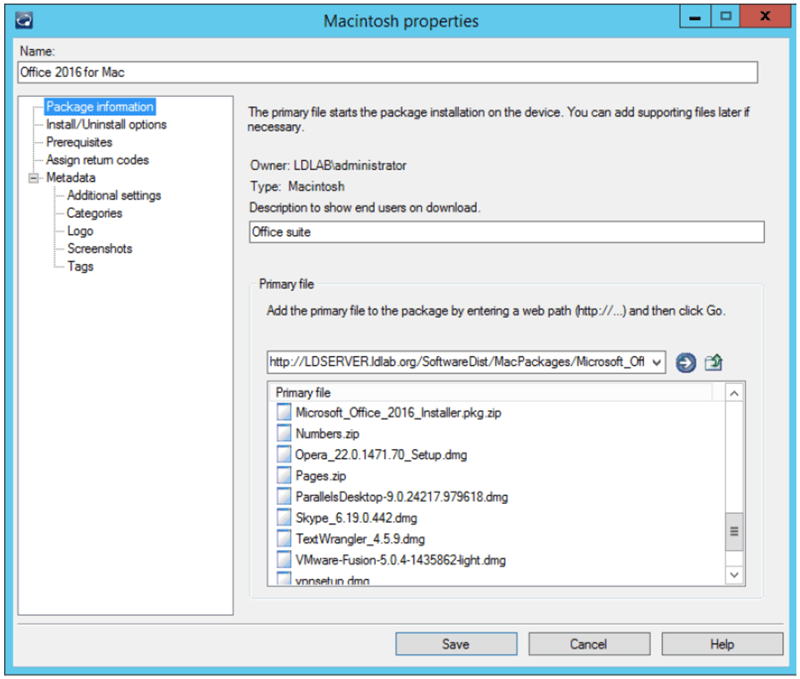
- Give the package a name, something like Office 2016 for Mac
- Provide a description if desired
- Set the primary file to the zip file you previously transferred to your software distribution folder
- Fill out the Metadata details if desired
- Save the package
With the LANDESK Mac package created, you now just need to schedule a task for deployment. This too, is a pretty simple process.
- Right click on the Office 2016 for Mac package created and select Create Scheduled Task
- From the network view, select and drag the desired machine(s), user(s) or query(ies) and drop them onto the task
- Now, right click on the task and select properties
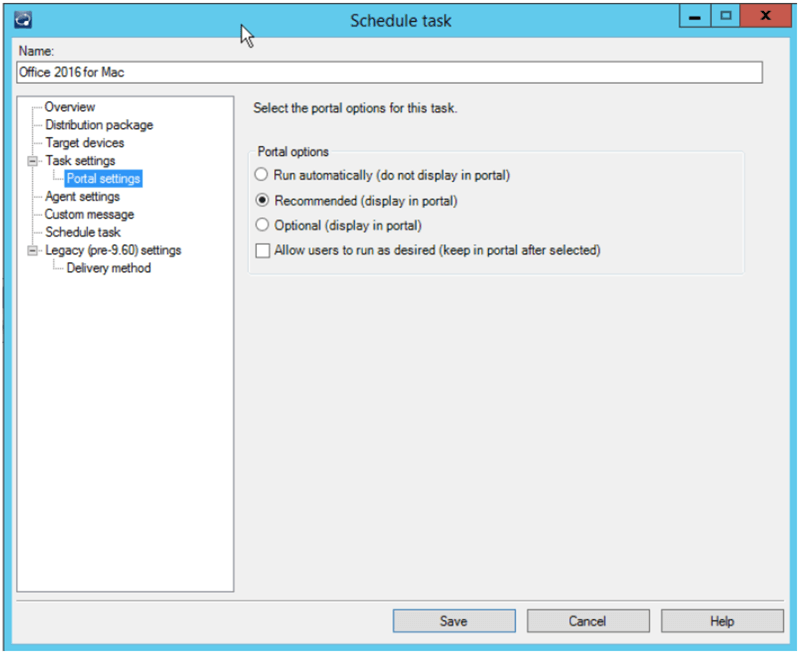
- Set the desired Task type under Task Settings as to whether you want a push, a policy or a hybrid of the two types in a policy-supported push.
- If you desire the end user to be able to initiate the task, set the radio button in the Portal Settings to either Recommended or Optional, otherwise set it to Required and it will automatically begin the upgrade during the next maintenance window
- Change the Reboot Settings or Distribution and Patch settings if desired
- Set the schedule task settings with the appropriate start time
With that, you can sit back and watch. On my 2015 MacBook Pro, the install took about five minutes. However, it’s worth noting, the Office 2016 for Mac installer does not remove Office 2011 for Mac. If you want it removed, you’re going to need to create a LANDESK Uninstall Mac package and deploy it in conjunction to the Office 2016 for Mac installer.
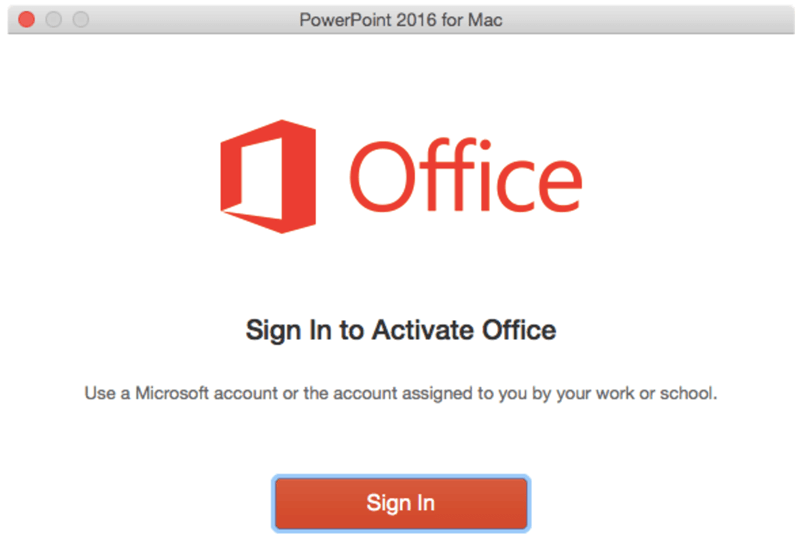
Once installed, the first time any one of the five applications (Word, Excel, Outlook, PowerPoint of One Note) is launched, it will prompt the end user to sign in and activate.
This article was originally published at appleintheenterprise.com